Part Management
Comprehensive part administration for managing spare parts, components, and maintenance materials in True Tracker.
Overview
Part Management allows administrators to create, modify, and manage parts inventory, track spare parts availability, and maintain component information within True Tracker.
Accessing Part Management
- Sign in with administrator privileges
- Navigate to Maintenance → Part
Note: Part Management requires administrator or maintenance management permissions.
Part List Screen
The Part List is your main hub for viewing and managing all parts in your True Tracker system. This screen displays all part records in an organized table format.
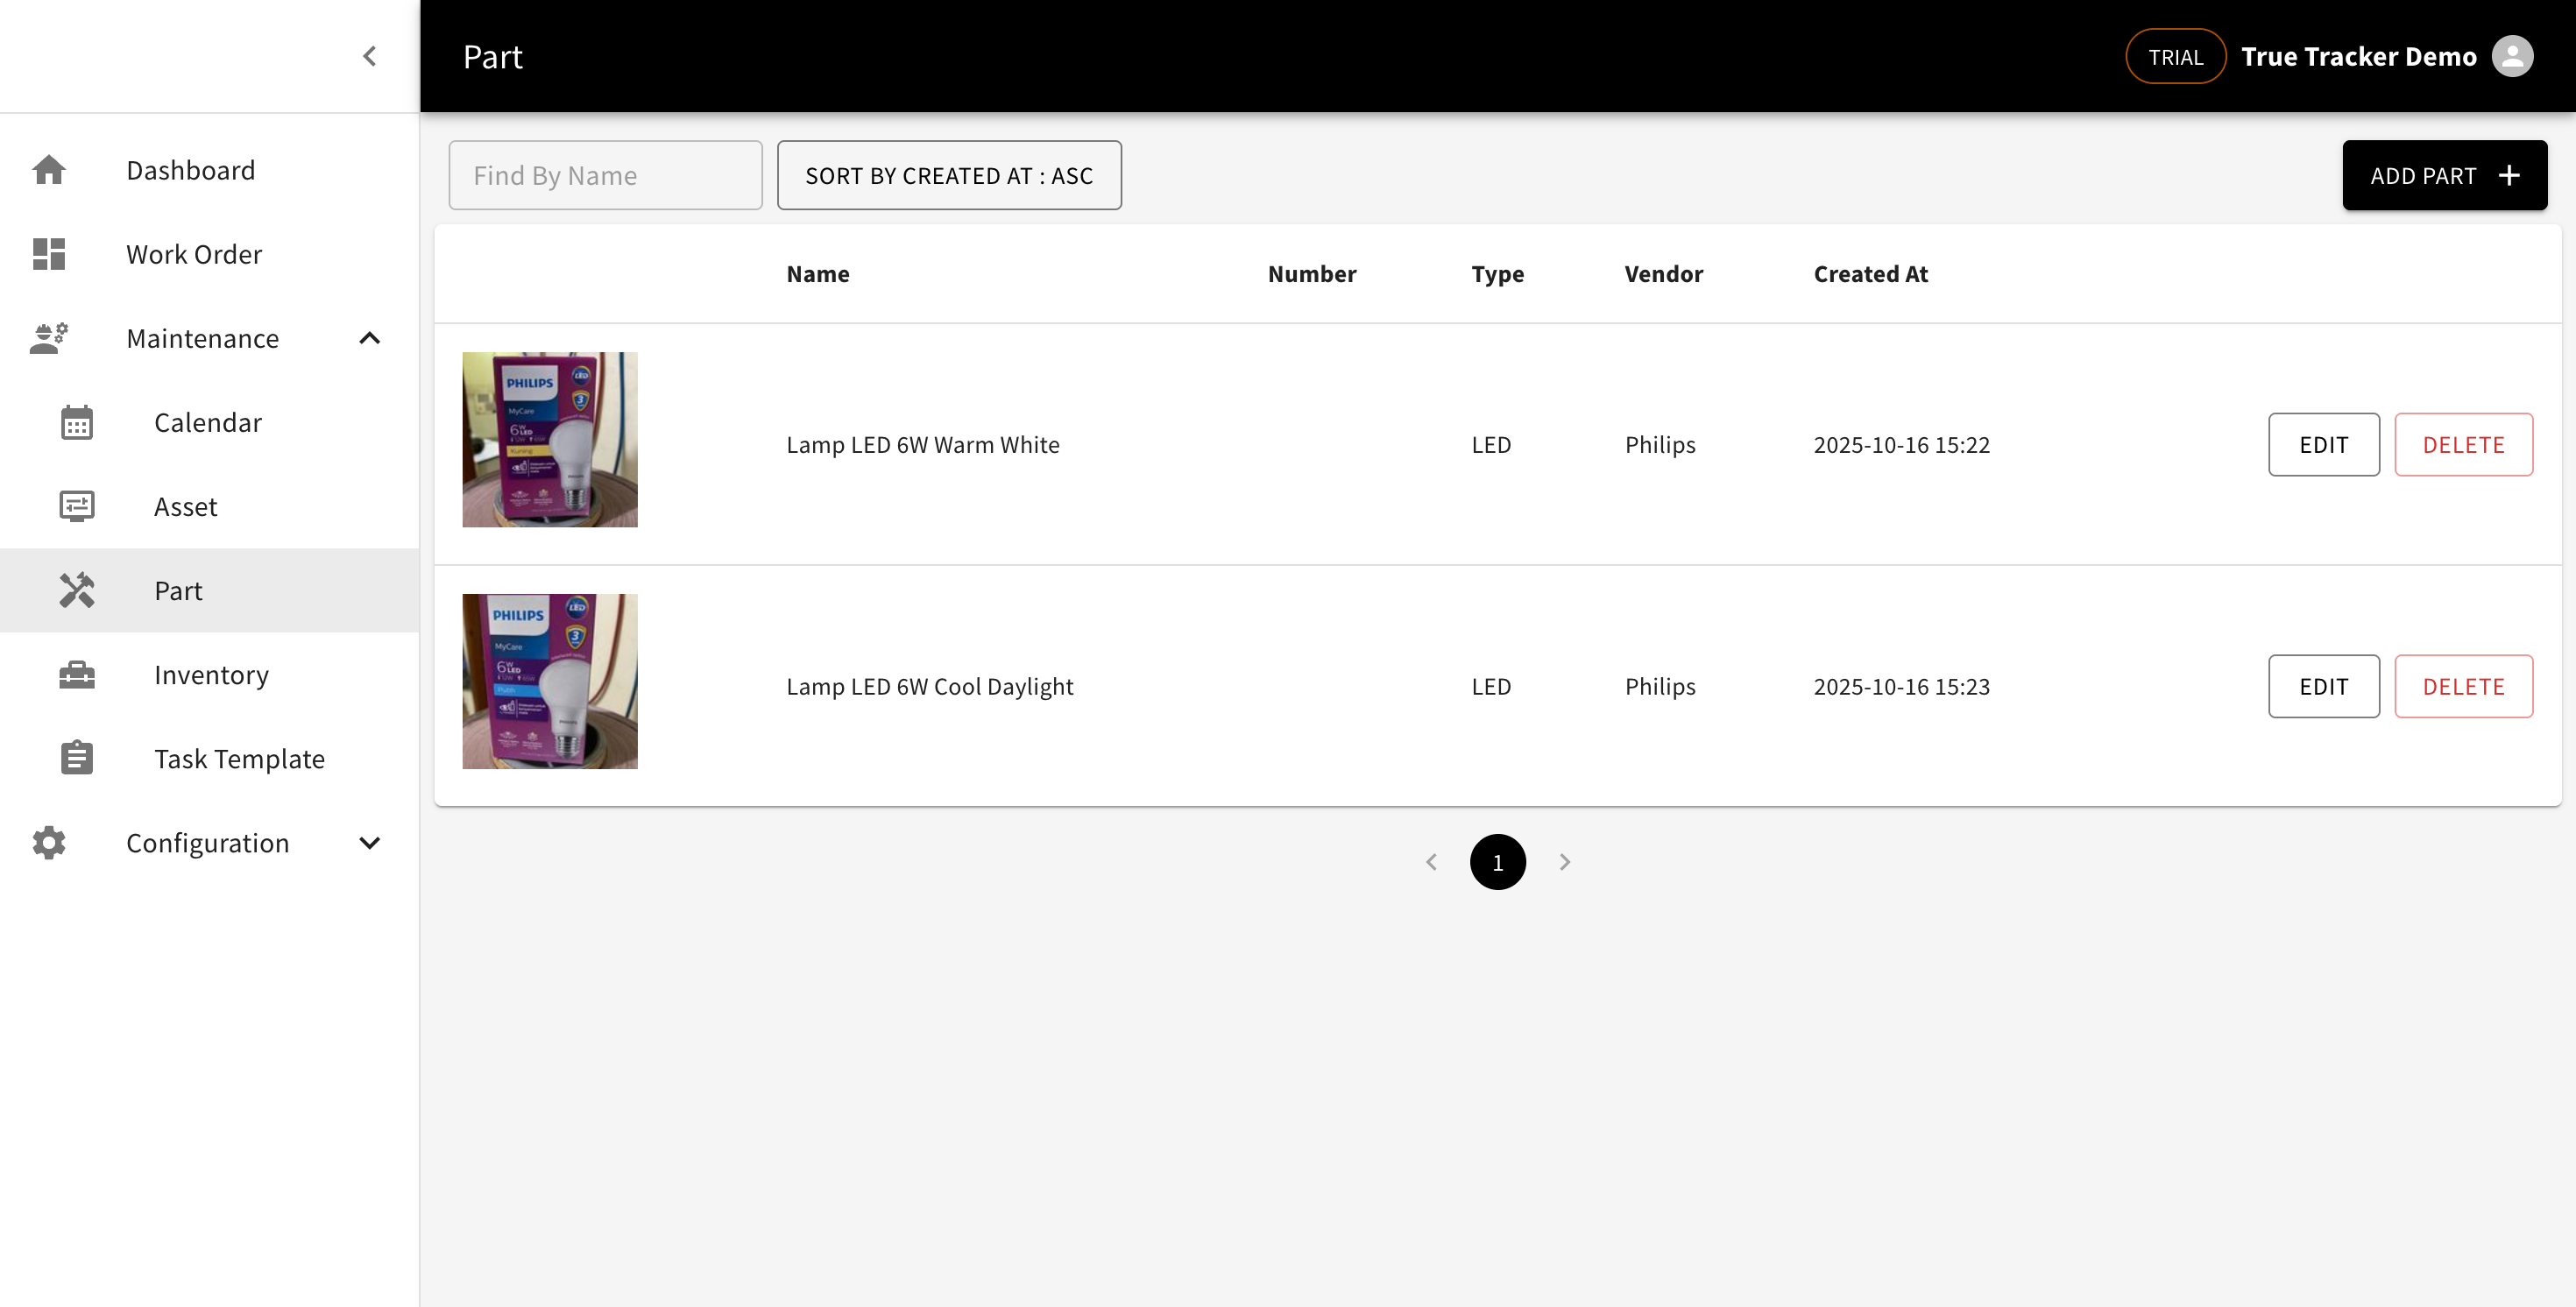
The Part Management screen showing the list of all parts with their details and management options.
What You'll See
| Column | Description | Example |
|---|---|---|
| Photo | Part image or thumbnail | Small part image |
| Name | Name of the part | "Hydraulic Filter" |
| Number | Unique part identifier | "HF-001-2024" |
| Type | Part type/category | "Filter" |
| Vendor | Part vendor/supplier | "ABC Parts Co." |
| Created At | When the part was added | "2025-10-16 14:51" |
Search and Filter Options
Find By Name
- Use the search box to quickly find parts by typing their name or part number
- Search results update as you type
- Case-insensitive search
Sort Options
- Click the sort dropdown (e.g., "SORT BY CREATED AT : ASC") to change sorting
- Sort by: Name or Created At
- Sort type: ASC (ascending) or DESC (descending)
- Default sorting is by Created At in ascending order
Available Actions
For Each Part:
- EDIT - Modify part details and information
- DELETE - Remove part from the system (use with caution)
Main Actions:
- ADD PART - Create a new part record
How to Use the Part List
- View All Parts: The screen automatically displays all parts when you access it
- Search for Specific Parts: Type in the "Find By Name" box to locate parts quickly
- Sort the List: Click the sort dropdown to organize parts by different criteria
- Manage Individual Parts: Use the EDIT or DELETE buttons for each part
- Add New Parts: Click the "ADD PART" button to create new part records
- Navigate Pages: Use the pagination controls at the bottom if you have many parts
Part Status Indicators
- Available: Adequate stock levels
- Low Stock: Below minimum threshold
- Out of Stock: No parts available
Create Part
The Create Part form allows you to add new parts to your True Tracker system. Click the ADD PART button from the Part List to open this form.
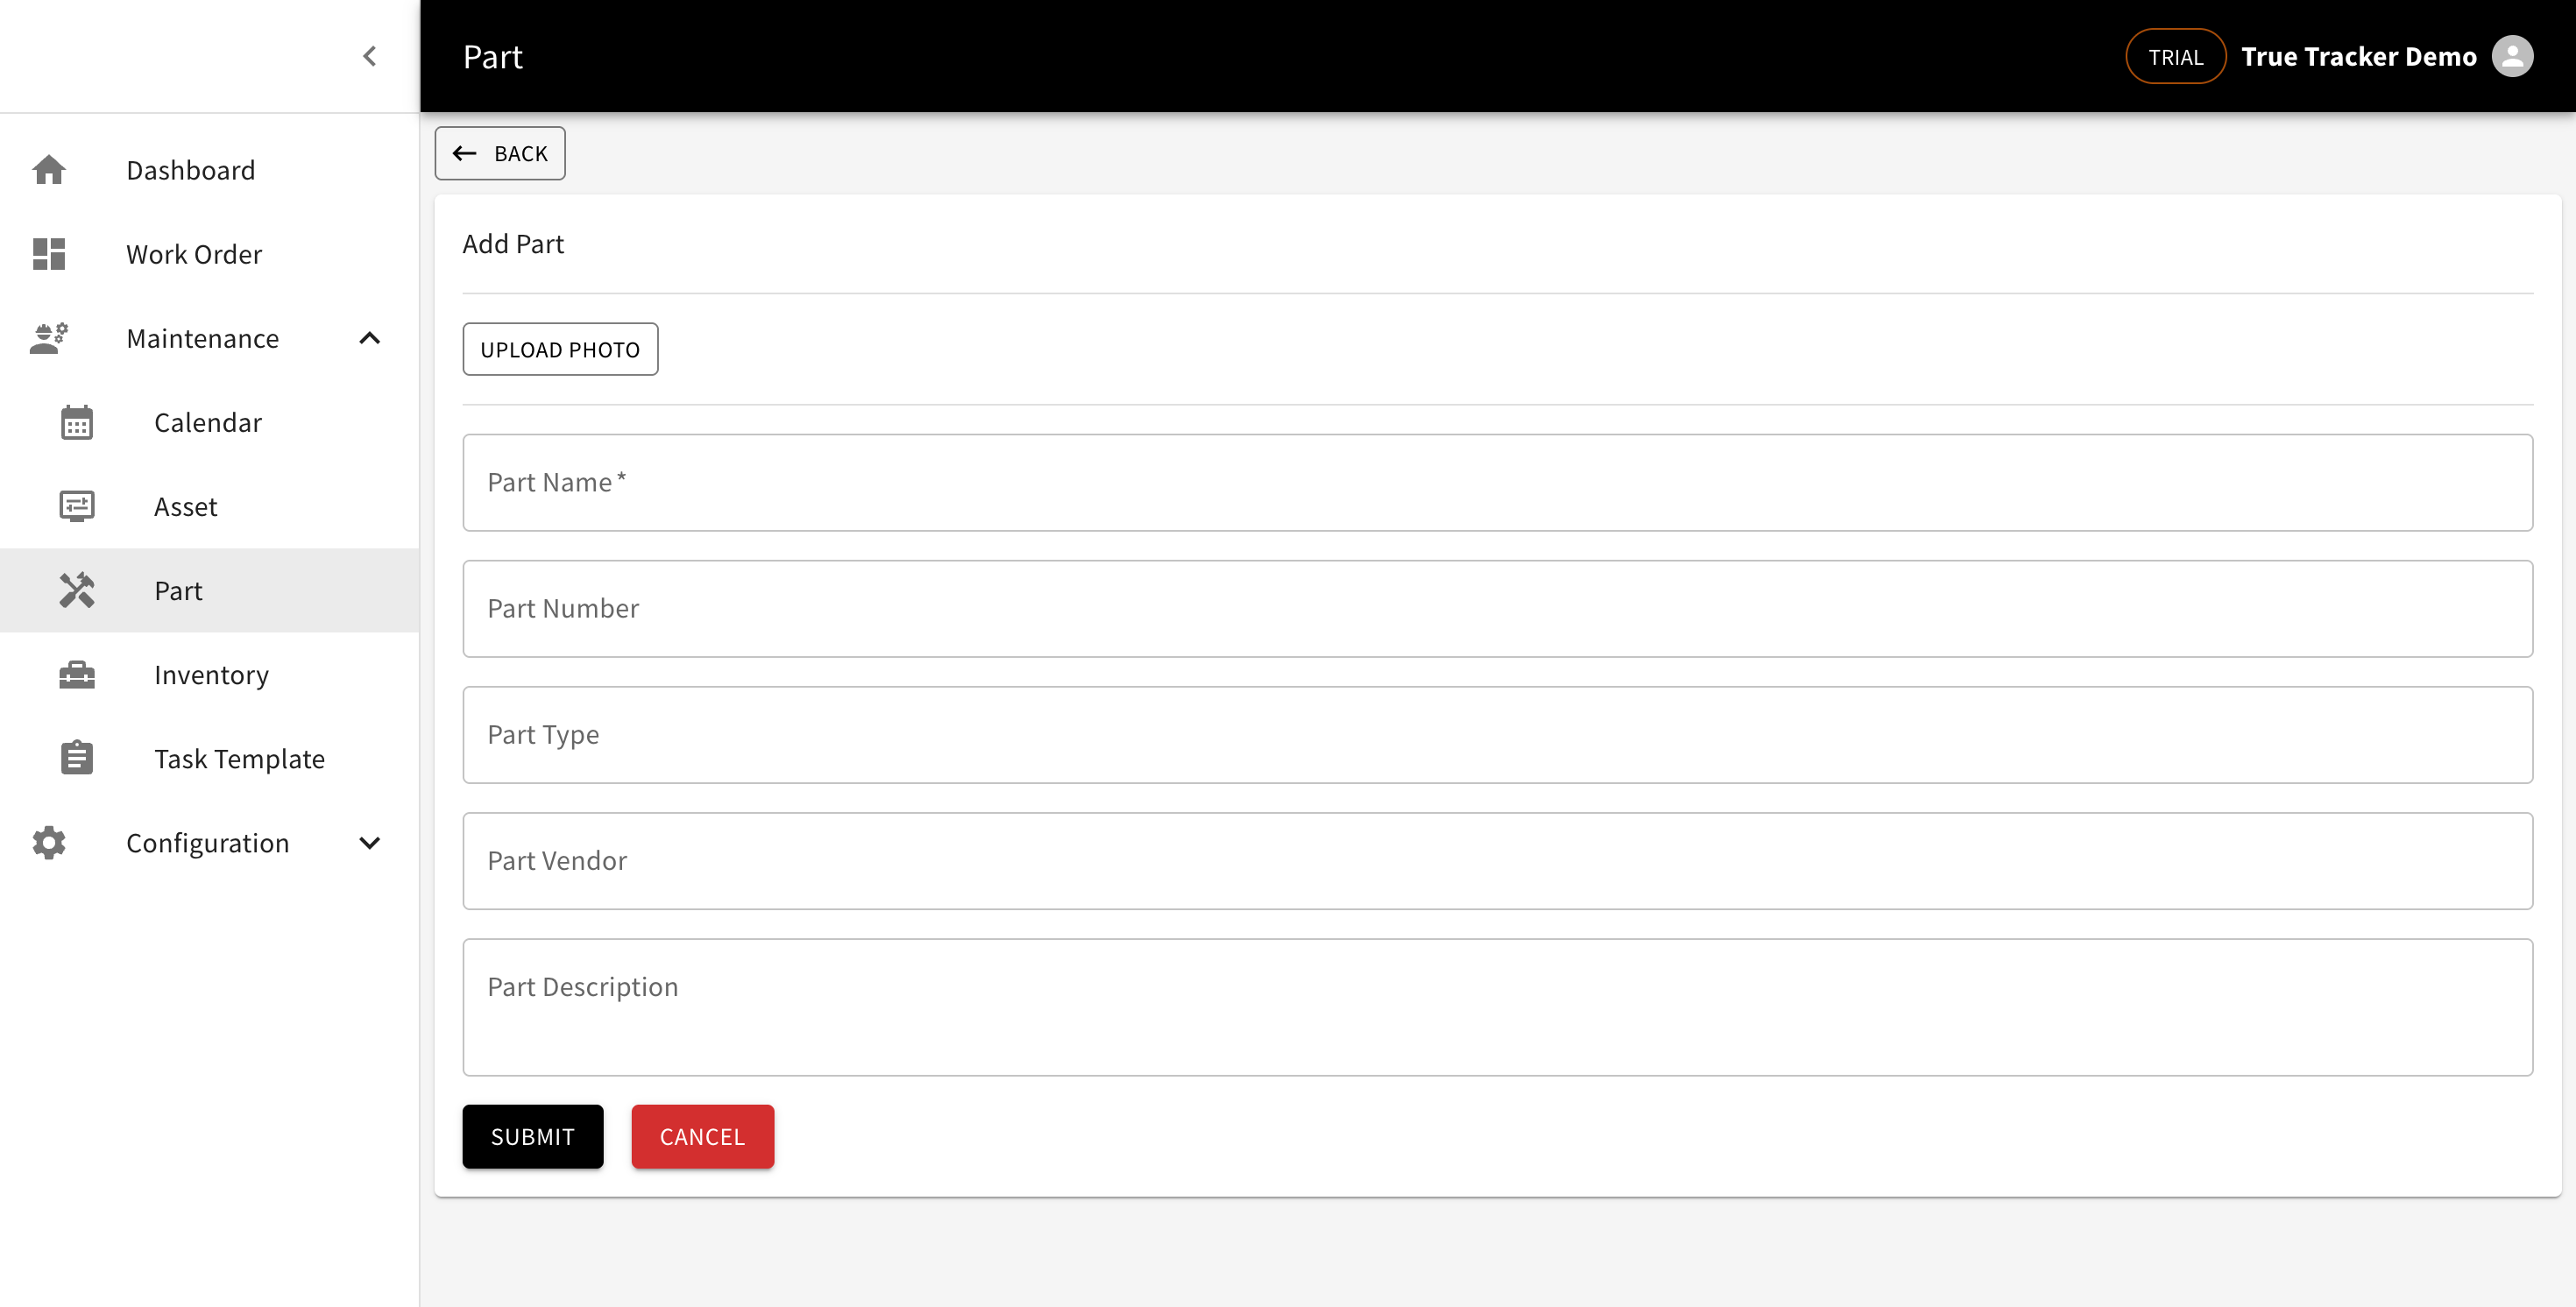
The Create Part form showing the fields for adding a new part.
Form Fields
| Field | Description | Required | Example |
|---|---|---|---|
| Photo | Part image upload | No | Upload image file |
| Name | Name of the part | Yes | "Hydraulic Filter" |
| Number | Unique part identifier | Yes | "HF-001-2024" |
| Type | Part type/category | Yes | "Filter" |
| Vendor | Part vendor/supplier | Yes | "ABC Parts Co." |
Form Actions
- Save - Creates the new part record
- Cancel - Returns to Part List without saving
How to Create a Part
- Click ADD PART from the Part List screen
- Fill in all required fields:
- Upload part photo (optional)
- Enter the part name and number
- Select part type
- Add vendor information
- Click Save to create the part
- You'll return to the Part List and the new part appears in the list
Edit Part
Click the EDIT button next to any part in the list to modify their information. The edit form contains the same fields as the create form.

The Edit Part form showing the fields for modifying part information.
How to Edit a Part
- Find the part in the list
- Click the EDIT button
- Modify the necessary fields
- Click Save to update the part
Delete Part
Click the DELETE button to remove a part from the system.
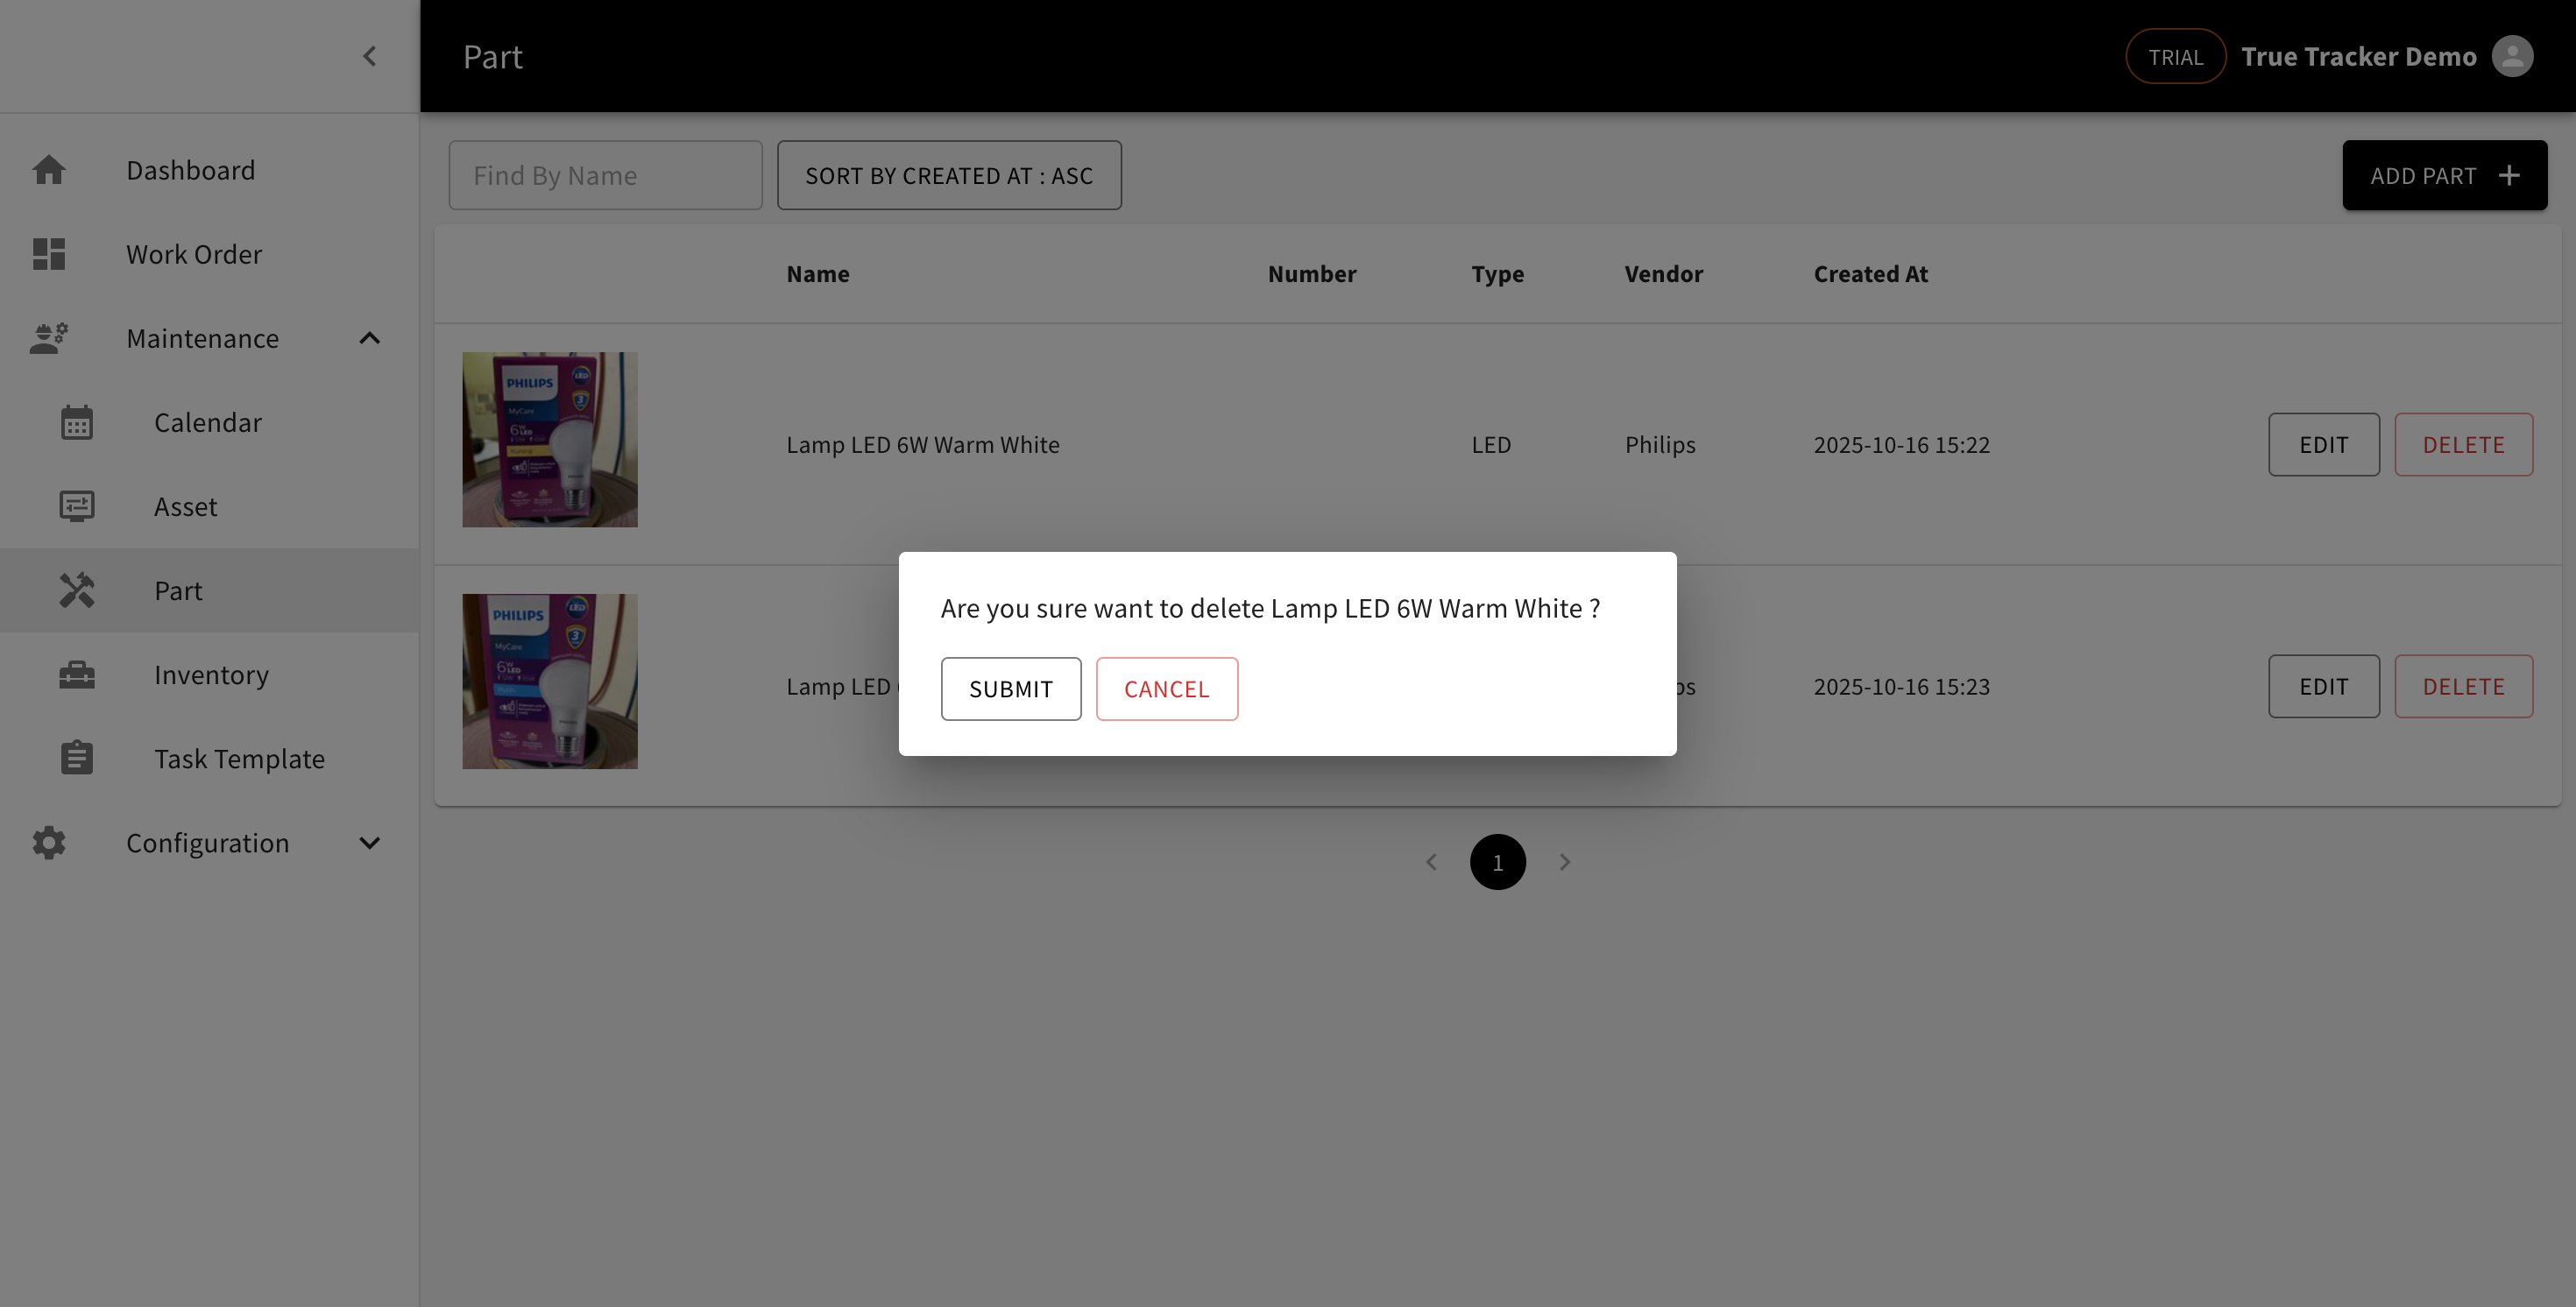
The Delete Part confirmation popup asking for confirmation before removing the part.
How to Delete a Part
- Find the part in the list
- Click the DELETE button
- Confirm the deletion in the popup
Warning: Deleting a part is permanent and cannot be undone.