Inventory
Inventory answers the two questions that always come up during an urgent repair: how many are there, and where?
The components themselves are registered first under Parts. Inventory records the stock of them, per location.
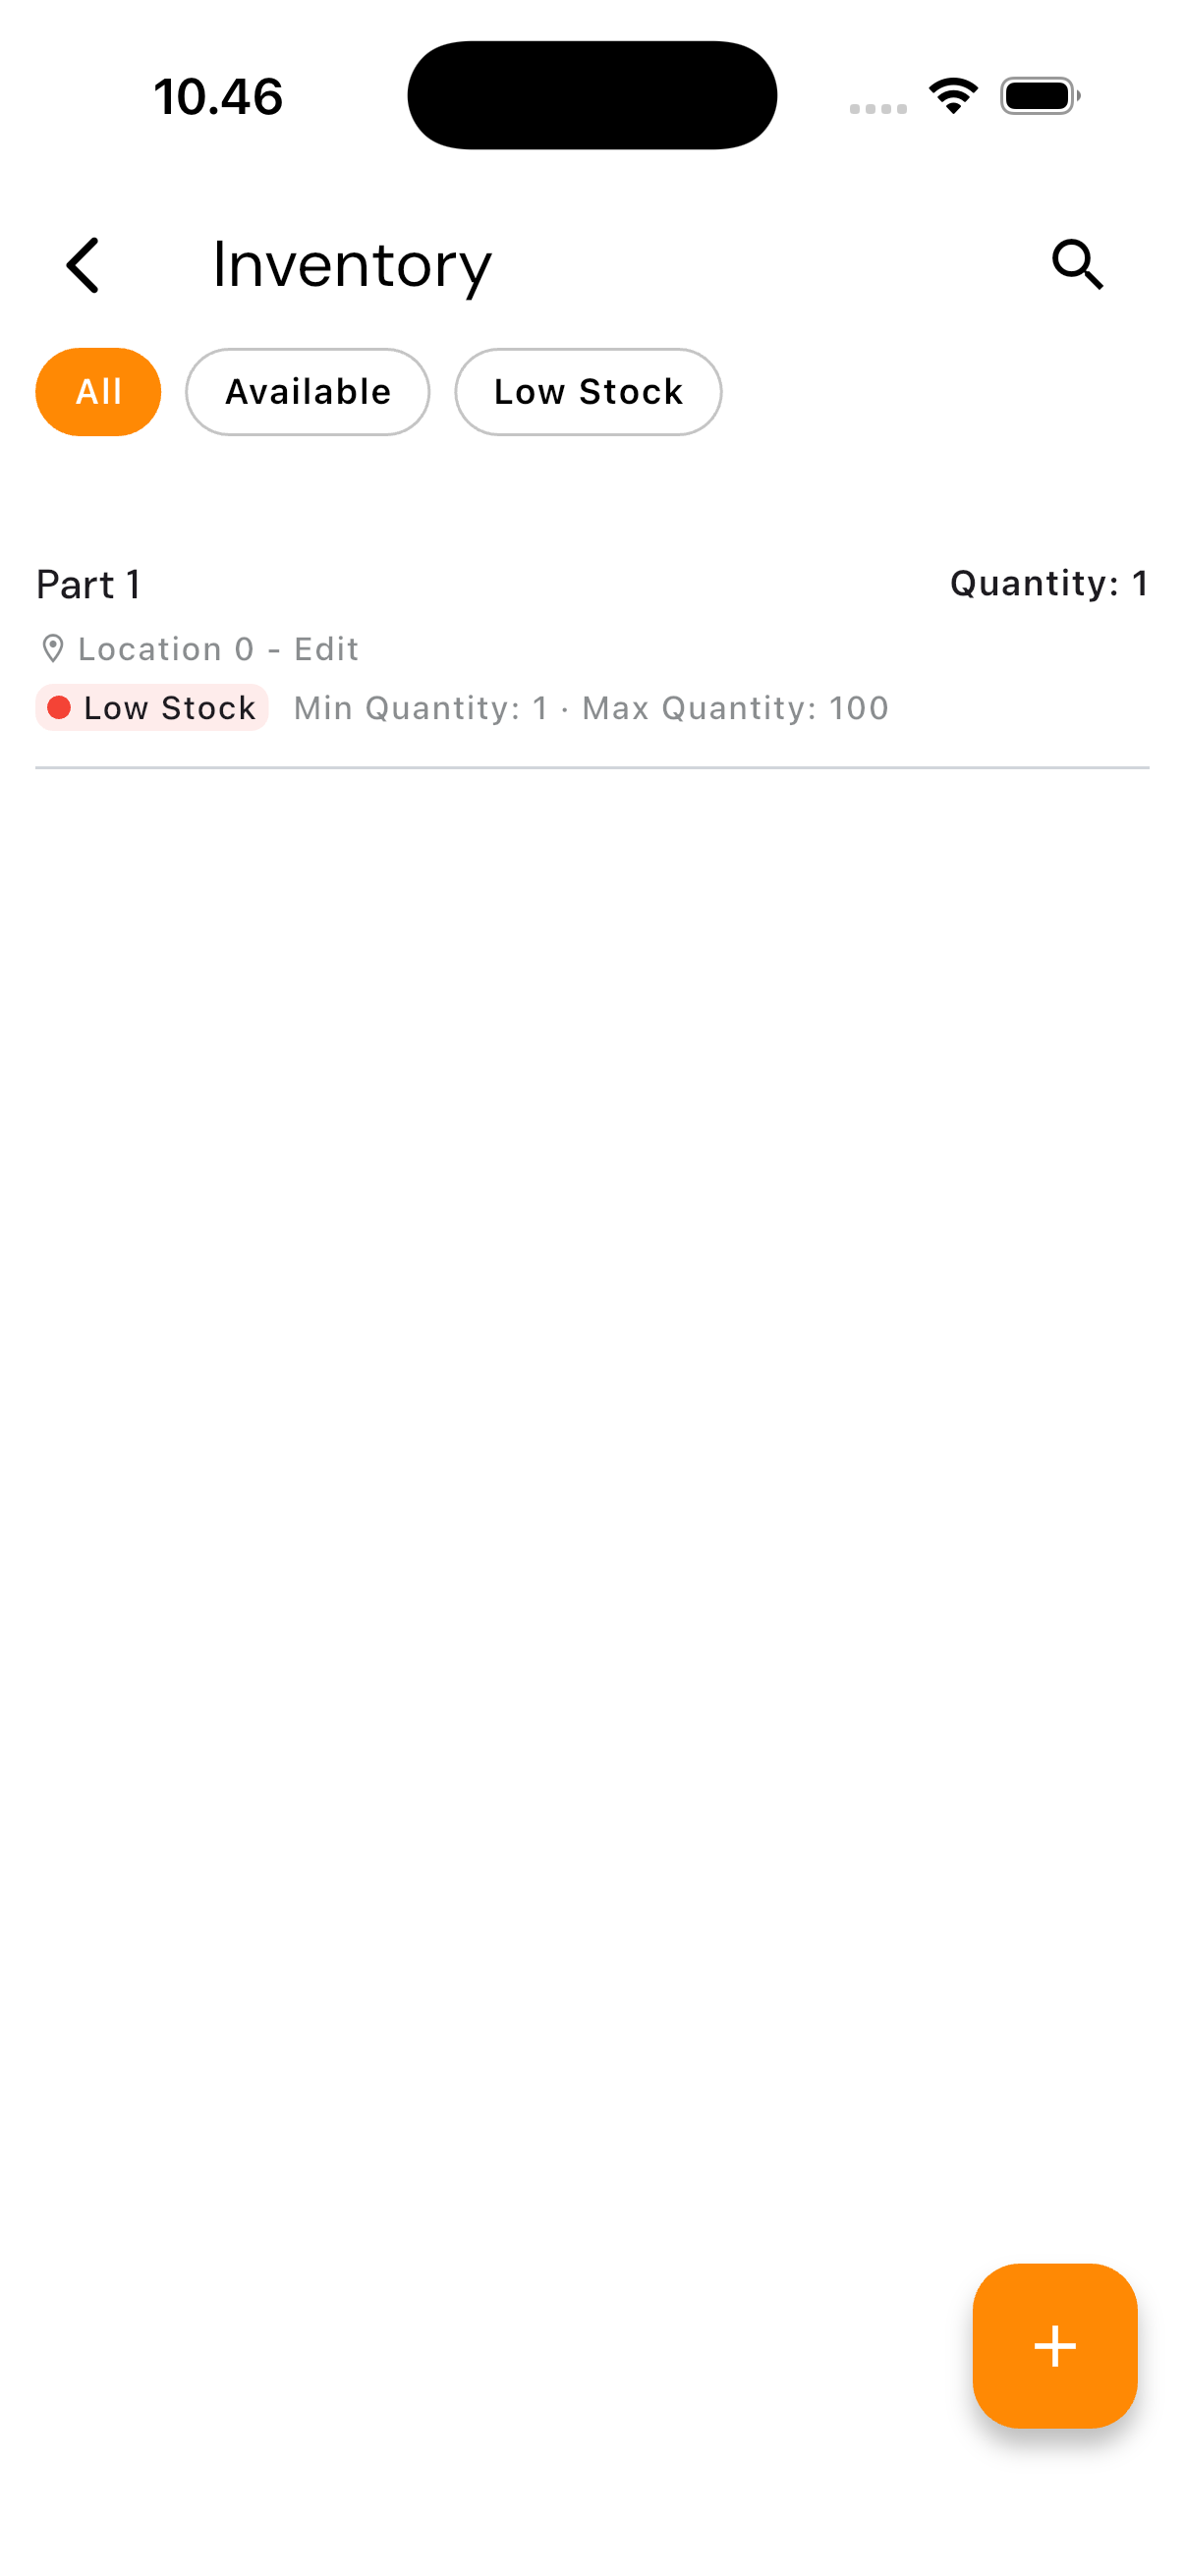
Opening Inventory
Tap the Settings tab, then under Manage choose Inventory.
The Three Chips
| Chip | What it gives you |
|---|---|
| All | Every stock record |
| Available | Stock that is still comfortable |
| Low Stock | What needs reordering |
Low Stock appears once the available quantity reaches or falls below the Min Quantity. In the example above, Part 1 has a quantity of 1 against a minimum of 1 — so it is already flagged, even though it has not run out.
That is the point: the warning arrives before the shelf is empty, not after. Open this chip before placing an order with a vendor.
What the Detail Holds
| Field | What it is for |
|---|---|
| Part Name | The component held |
| Part Number | The catalogue code |
| Barcode | If the component is labelled |
| Type | Grouping |
| Vendor | Who supplies it |
| Location | The shelf or store it sits in |
| Available Quantity | Current stock |
| Min Quantity | The level that triggers the Low Stock flag |
| Max Quantity | The upper limit for storage |
Set Min Quantity with your vendor's delivery time in mind. If a filter takes two weeks to arrive and you use one a week, a minimum of 1 is already too late.
Adding a Stock Record
Available to the Admin and Head roles.
- Tap the add button
- Choose a Part Name from the components already registered
- Enter the Quantity
- Save
The component must exist under Parts first. If it is not in the picker, it needs creating there.
Deleting
Open the record and choose delete. Deleting a stock record does not delete the part — the component stays in the catalogue, only its stock stops being tracked.